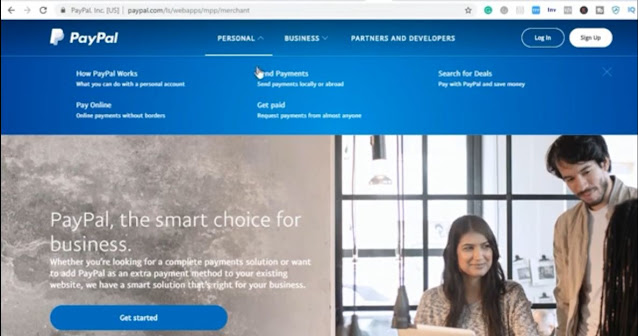
What is PayPal
PayPal has been around the globe for a long time, been one of the easiest and fastest method/way to transfer and receive money online, But in Nigeria the reverse was the case. In the past Nigeria was restricted from having a PayPal account due to internet fraud and other related issues.
But after sometimes these restrictions were reduced you can now create a PayPal account for sending and receiving money in Nigeria. Even after the restrictions were shifted you can’t still receive money through PayPal but you can only send money and do other stuffs.
Well if you already thinking of not using PayPal services and maybe you want to switch to other services, then i will advice you need to hang on a little, because in this post am going to show you guy’s how to create a PayPal account in account that you can actually use to send and receive money online.
Requirement for creating your PayPal account
In creating a PayPal account in Nigeria or in any other country you need some of these things before proceeding with the account creation process and these things include?
- A valid email address: you need a valid email address in creating a PayPal account in Nigeria, because PayPal will send an activation link in which you will use in activating your PayPal account.
- A national identity card or a Drivers license to verify your identity as a citizen of Nigeria. If you have these entire requirements you are now set to go.
Steps in creating a PayPal account in Nigeria
Step 1: First of all open your browser and type www.paypal.com if you are in Nigeria the default address will somehow look like this www.paypal.com/ng and with this you can’t have all the features that PayPal has so you have to change it to www.paypay.com/ls Ls stands for Lesotho and this you will see the windows will be different from that of www.paypal.com/ng with this you will have other option


Step 2: Click on Sign Up and you will be redirected to next screen. In the next screen you will asked to select the type of PayPal account you want to open either personal or business
Step 3: After selecting the type of account that you want to create, click on Continue to move to the next section. For this tutorial I will be using the Business account option, but you can go ahead to select Personal Account. It depends on what you want.
Step 4: Enter your valid Email address, if you don’t have one you simply go www.gmail.com to create a Gmail account. If you have one, insert it into the available space and click on Next to continue. Please make sure the Email is not attached to a PayPal account.
Step 5: In the next windows you will be asked to fill in some information like, Password, Business name, Business phone number, Business address line, City/Town and other details which you will be asked to provide. Fill it correctly and Click on Agree and Continue
Step 6: This will redirect you to the next window where you have to write the type of business it is, either Individual, Sole Proprietorship, Partner and so on. Choose wisely but for this tutorial I will be using Individual. After selecting the individual option you will have to provide some information like, Product or Service Keyword like freelancing, web developer or other option, Business URL. For Business URL it is optional so if you don’t have one don’t bother yourself just click on Continue to forge ahead.
Step 7: In the next windows you will have to provide some information about yourself like Your Nationality which is Nigeria, Identity Document is you don’t have you have a Nigeria national id card you choose the other option like Drivers license or another. If you choose the identity number you have to insert it the space and also your date of birth click on Submit
Step 8: An Email will be sent to you to verify your PayPal account, all you need to do is to login into your Gmail account and click on the link that PayPal will send to you
Step 9: A new will open up for you to insert your password, after that click on Confirm Email Address
After that you will be directed to your PayPal dashboard where you can do some settings like attaching your credit card or your bank account information. With this we have come to the end of this tutorial, with this PayPal account which you’ve just created; you will not have restrictions when it comes to aspect like receiving of money. Thanks for reading!
Tags:
Tips

Thank you for this informative information.It is very useful for one who wants to know about USA verified PayPal account
ReplyDelete